This technique is the BEST! @paintedbyspencer is one of the best out there 😍 #makeuphack #baking #makeuptechnique #makeuptips #makeupartist #makeuptutorial #concealerhack
Sometimes, getting makeup to do what it’s supposed to can be challenging. In theory, I know how to contour, how to apply the perfect winged liner, and how to make my mascara look like falsies — but actually doing it? That’s another story. However, when I feel like I really can’t nail something, there’s usually a TikTok hack to help me out. Although I write about (and test) beauty products as part of my job, more often than not, people on social media are the ones helping me figure out how to do my makeup. Whether it’s the right area to place blush for a lifted look, or a filter that helps me figure out how to pencil in my eyebrows, the app has my back.
A few months ago, I learned about the “blend, set, bake” technique, and it completely changed the way I do my concealer. The term was first coined by makeup artist and beauty influencer Painted by Spencer, who says that the technique not only brightens up the under-eye area but also locks the makeup into place all day long. Plus, setting it lightly prior to baking ensures that the concealer doesn’t cake up or settle in fine lines.
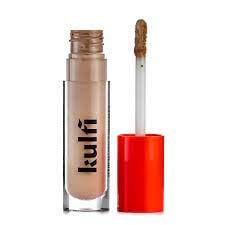
Whenever I do this hack, I start out with my skin-care routine and then prep my face with a makeup primer. After dabbing on a bit of foundation, following the Mary Phillip’s contour trick, and adding a few swipes of mascara, it’s time to get to concealer. My current favorite is a POPSUGAR Beauty Award Winner, the Kulfi Main Match Crease-Proof Long-Wear Hydrating Concealer ($26). I like to “marinate” my concealer, so after applying it under my eyes I let it sit for about three minutes while I add in a bit of bronzer.
Once it’s finished marinating, it’s time to blend, set, and bake. Here’s how the process works.
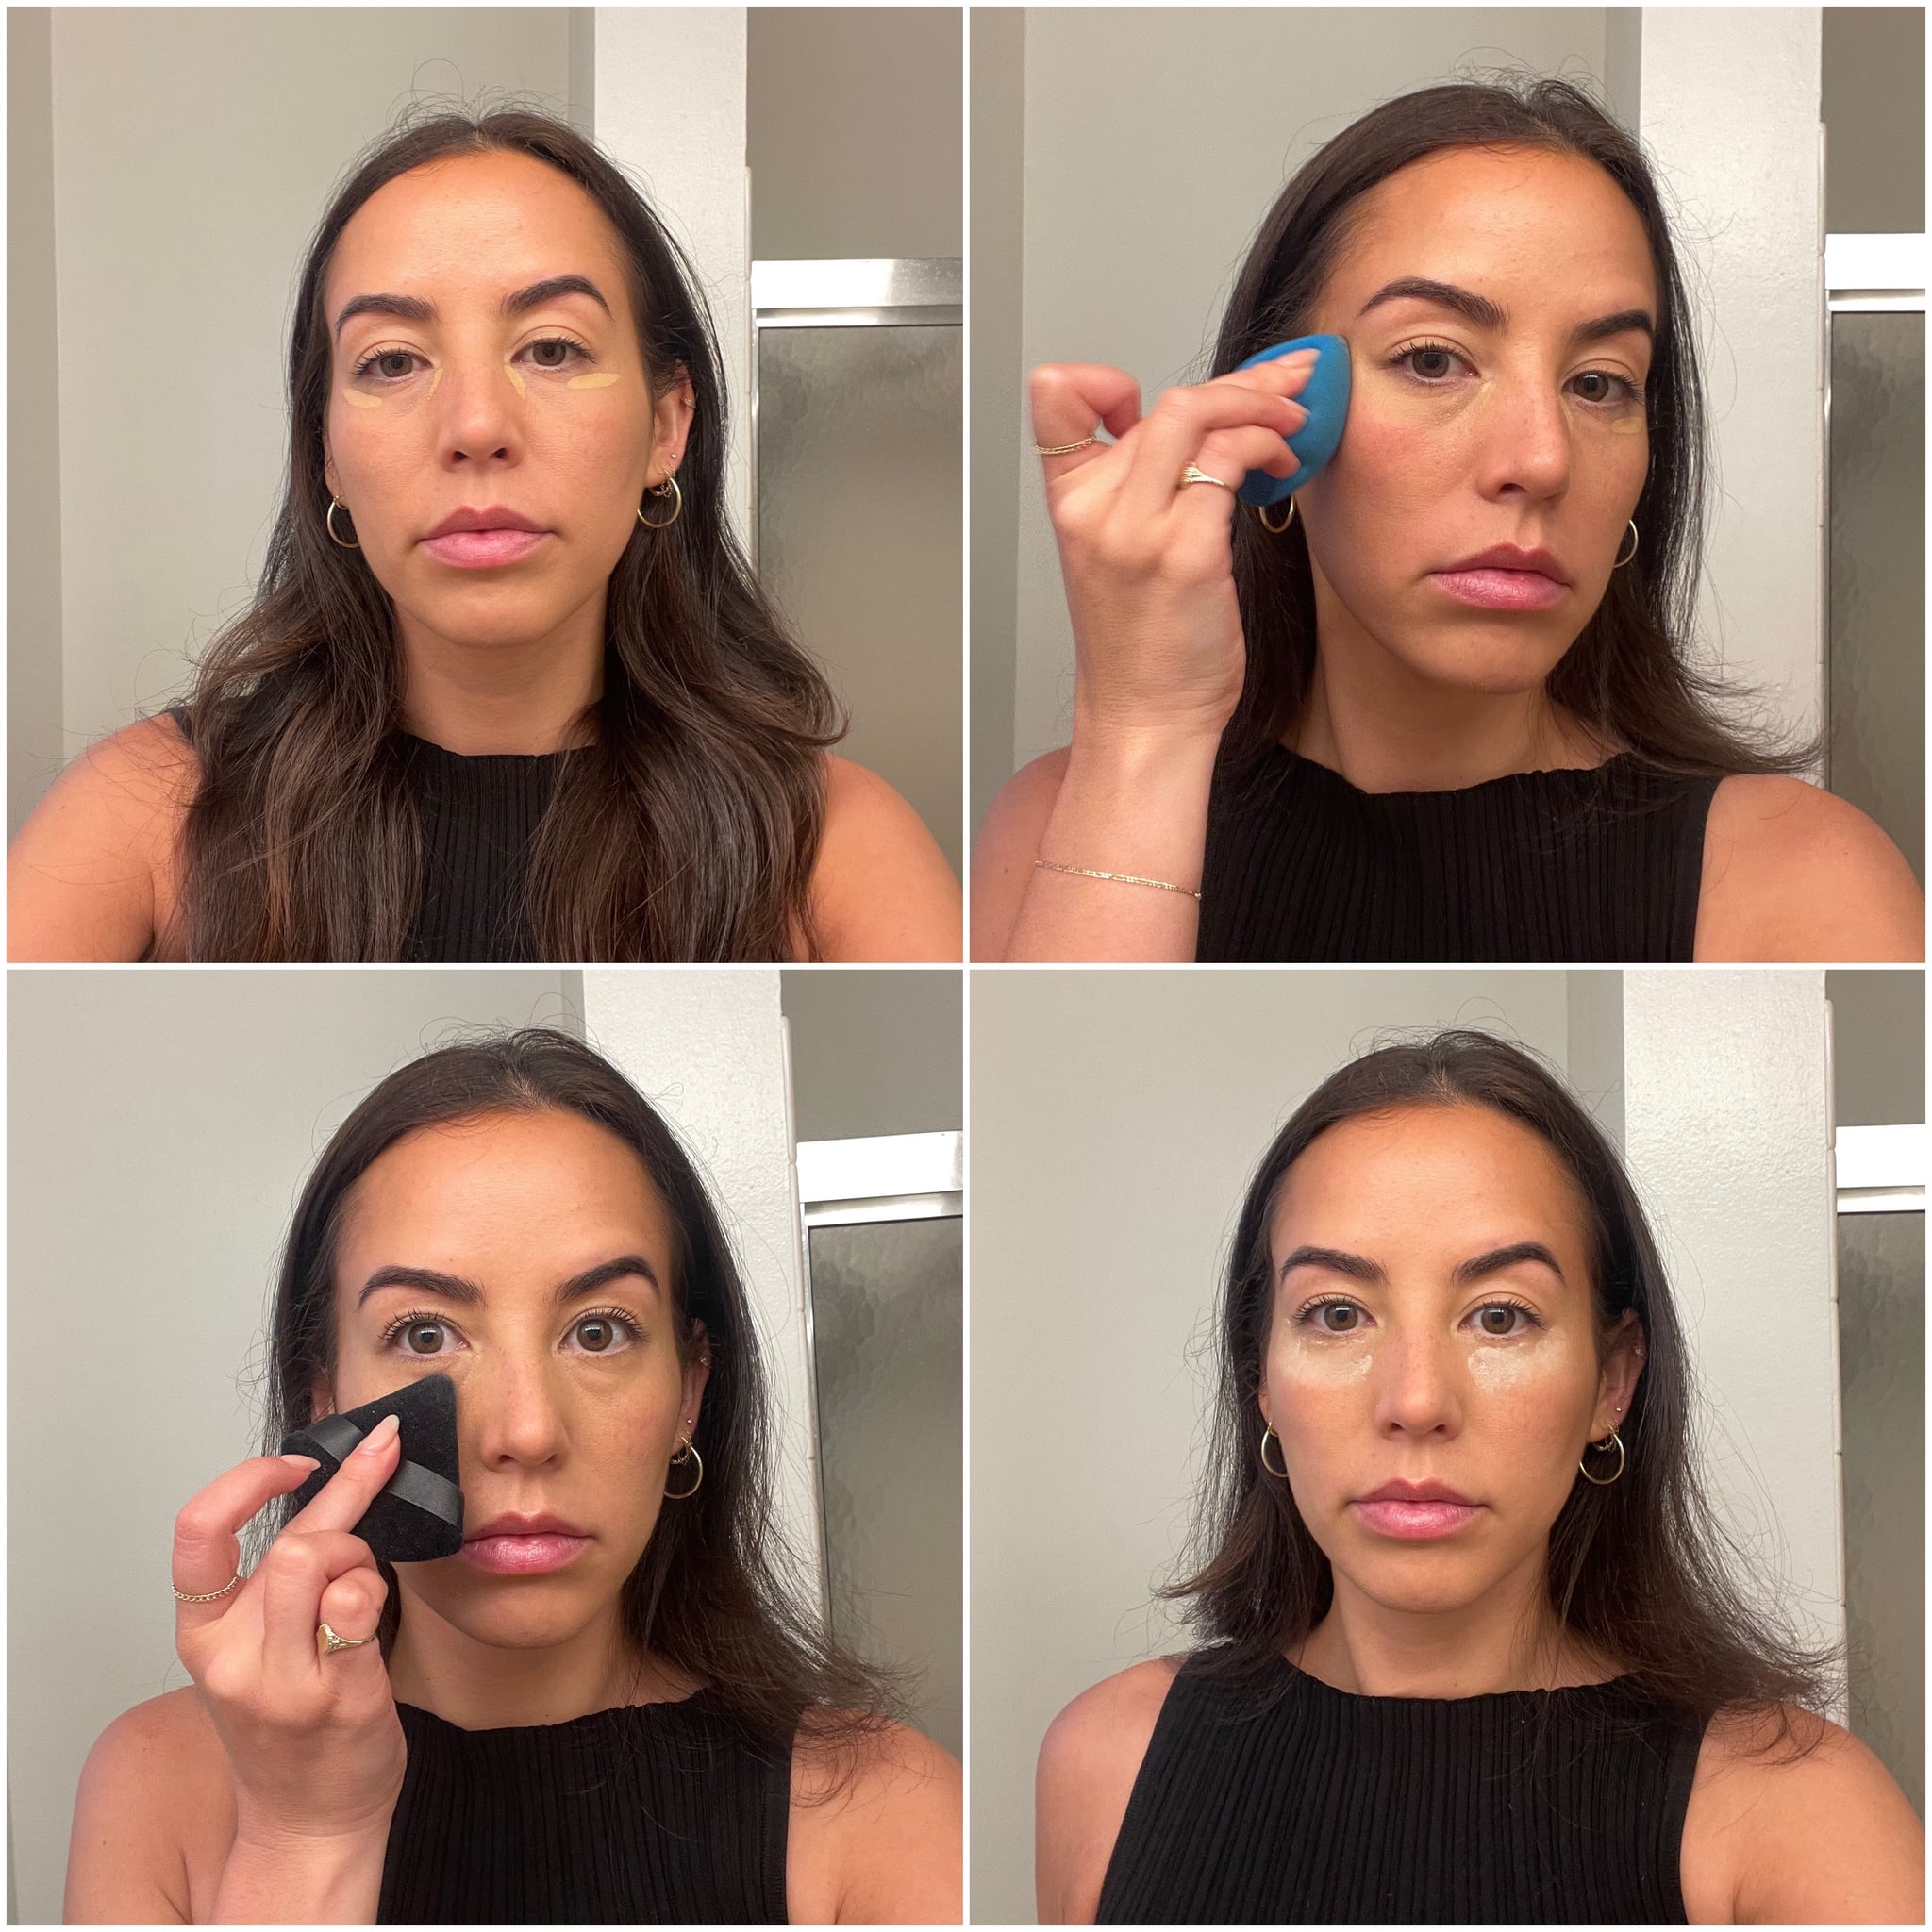
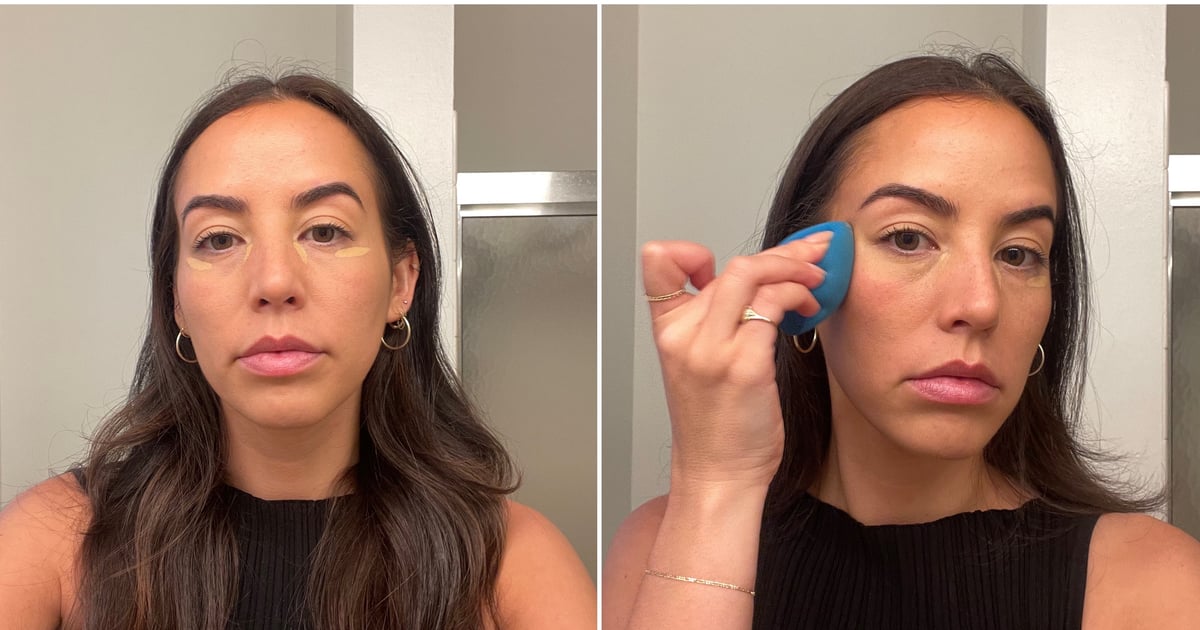
Step 1: Blend the Concealer For the first step, I start out by blending out the concealer using a damp beauty sponge.
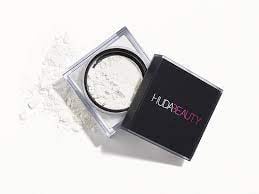
Step 2: Set the Concealer: Then, I dab the tiniest bit of Huda Beauty Easy Bake Loose Baking & Setting Powder ($38) on a powder puff and gently dab it under my eye area. I always make sure to use a translucent powder, and only the smallest amount. This step allows the makeup to set in place and get it looking matte without overdoing it.
Step 3: Bake the Concealer: The third and final step is to bake the undereye area. I use the same powder puff with a much larger amount of product and tap it under my eye so that I can see a white layer. Then, I let it sit for about 10 minutes. Once it’s finished baking, I brush the excess powder away using a fluffy powder brush.
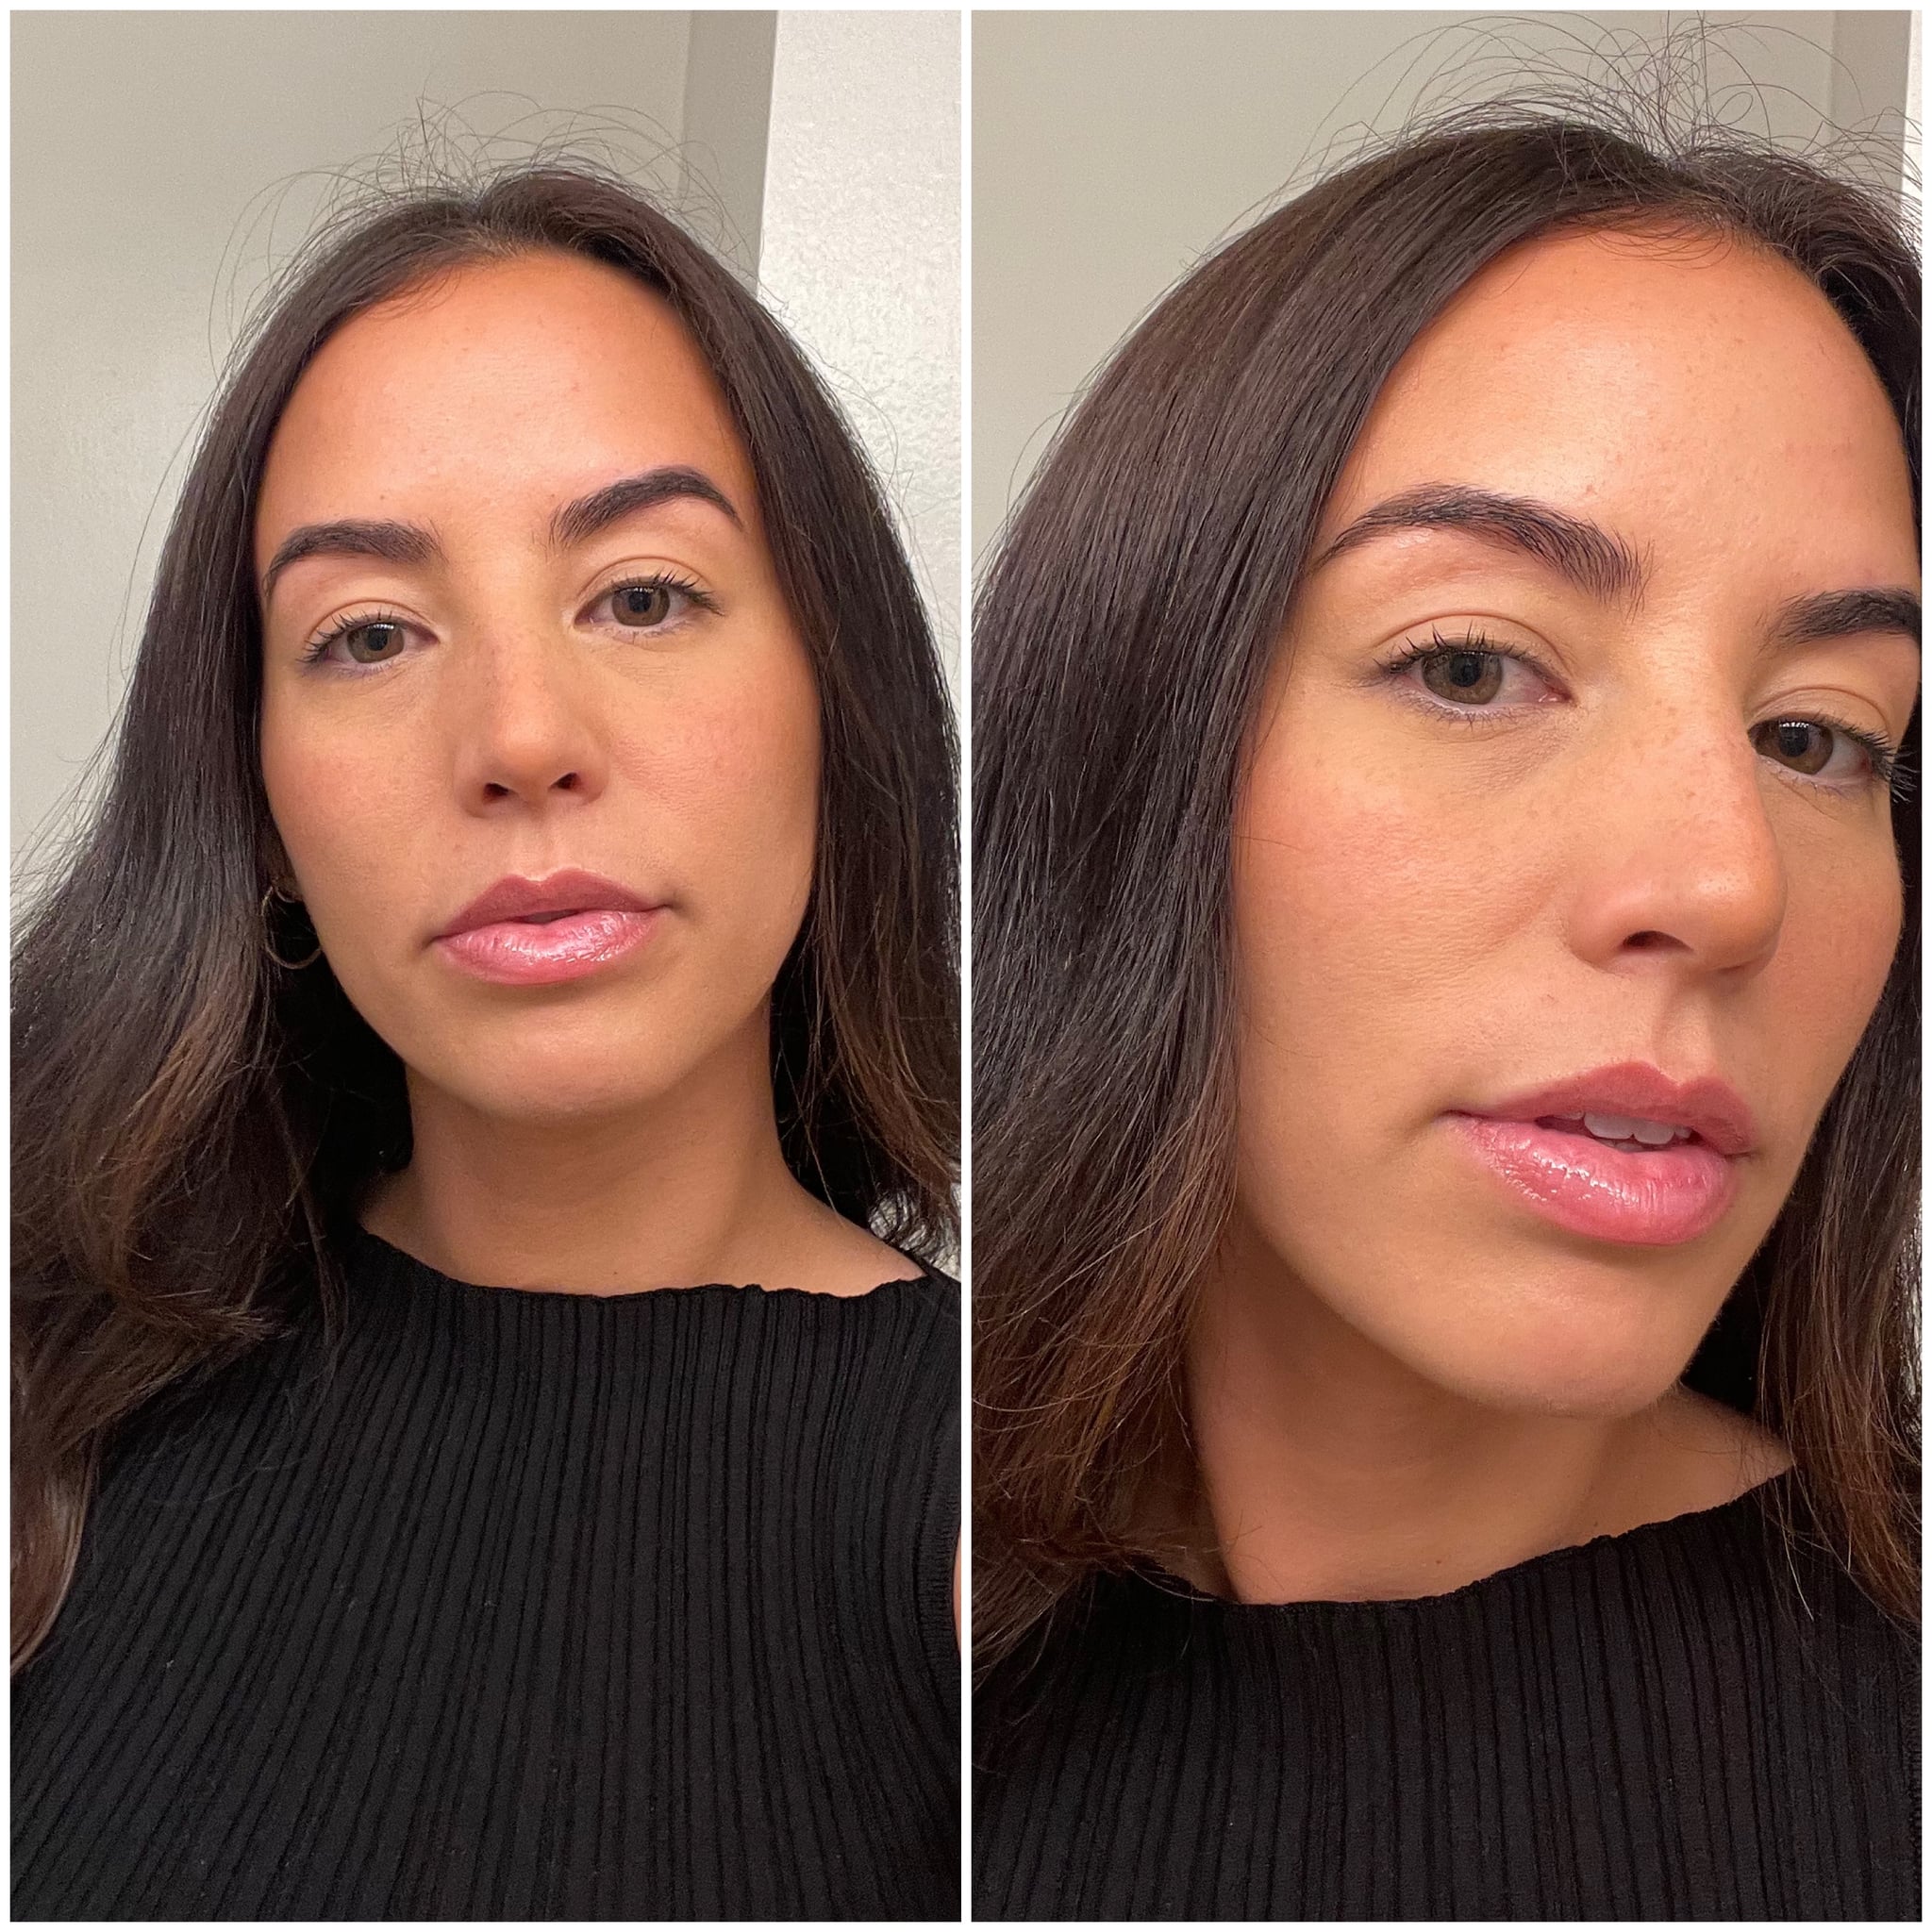
Before adopting this hack, I used to run into plenty of issues with my concealer — it would crease, it would cake up, it would pill — you name it, it happened to me. Using this trick always leaves my concealer looking flawless, and it lasts for hours without needing any touch-ups. Ever since testing out the “blend, set, bake” method, I’ve been sharing it with all my friends and I’ve been using it nonstop — and my concealer has never looked better.
Source: Read Full Article
