Reply to @petassnym yes I’ve got as it was on repeat the whole way through #xyzbca #beauty #makeup
The last time I had a passport photo taken, I was 22 and heading to Costa Rica to teach English after graduating from college. I wore a plaid button-down, a fugly red scarf, and absolutely zero makeup. Somehow, I still managed to look cute.It’s been almost 10 years since then, and yep, you guessed it — it’s time for a new passport photo. I’ve already accepted the fact that there is no way I’m going to look cute in any photo without at least a little makeup, so when I saw a viral makeup tutorial for the “perfect passport photo” on TikTok, I decided to test it out to see if it was worth the hype.
The viral video, created by TikTok user Georgia Barratt, included way more steps than my typical everyday makeup, so not only did it take a while to do, but there were some things that I had to practice a few times before I got them right. (I’m looking at you, winged eyeliner.) I followed Barratt’s instructions to a T, subbing in products that I had on hand that closely matched everything she used in her video.
The steps were a little confusing to follow, and while I was in the midst of applying my makeup, it didn’t seem like there was a lot of rhyme or reason to the order of application, but the end result was worth it. Keep scrolling for a step-by-step guide to the perfect passport makeup look and check out the results for yourself.
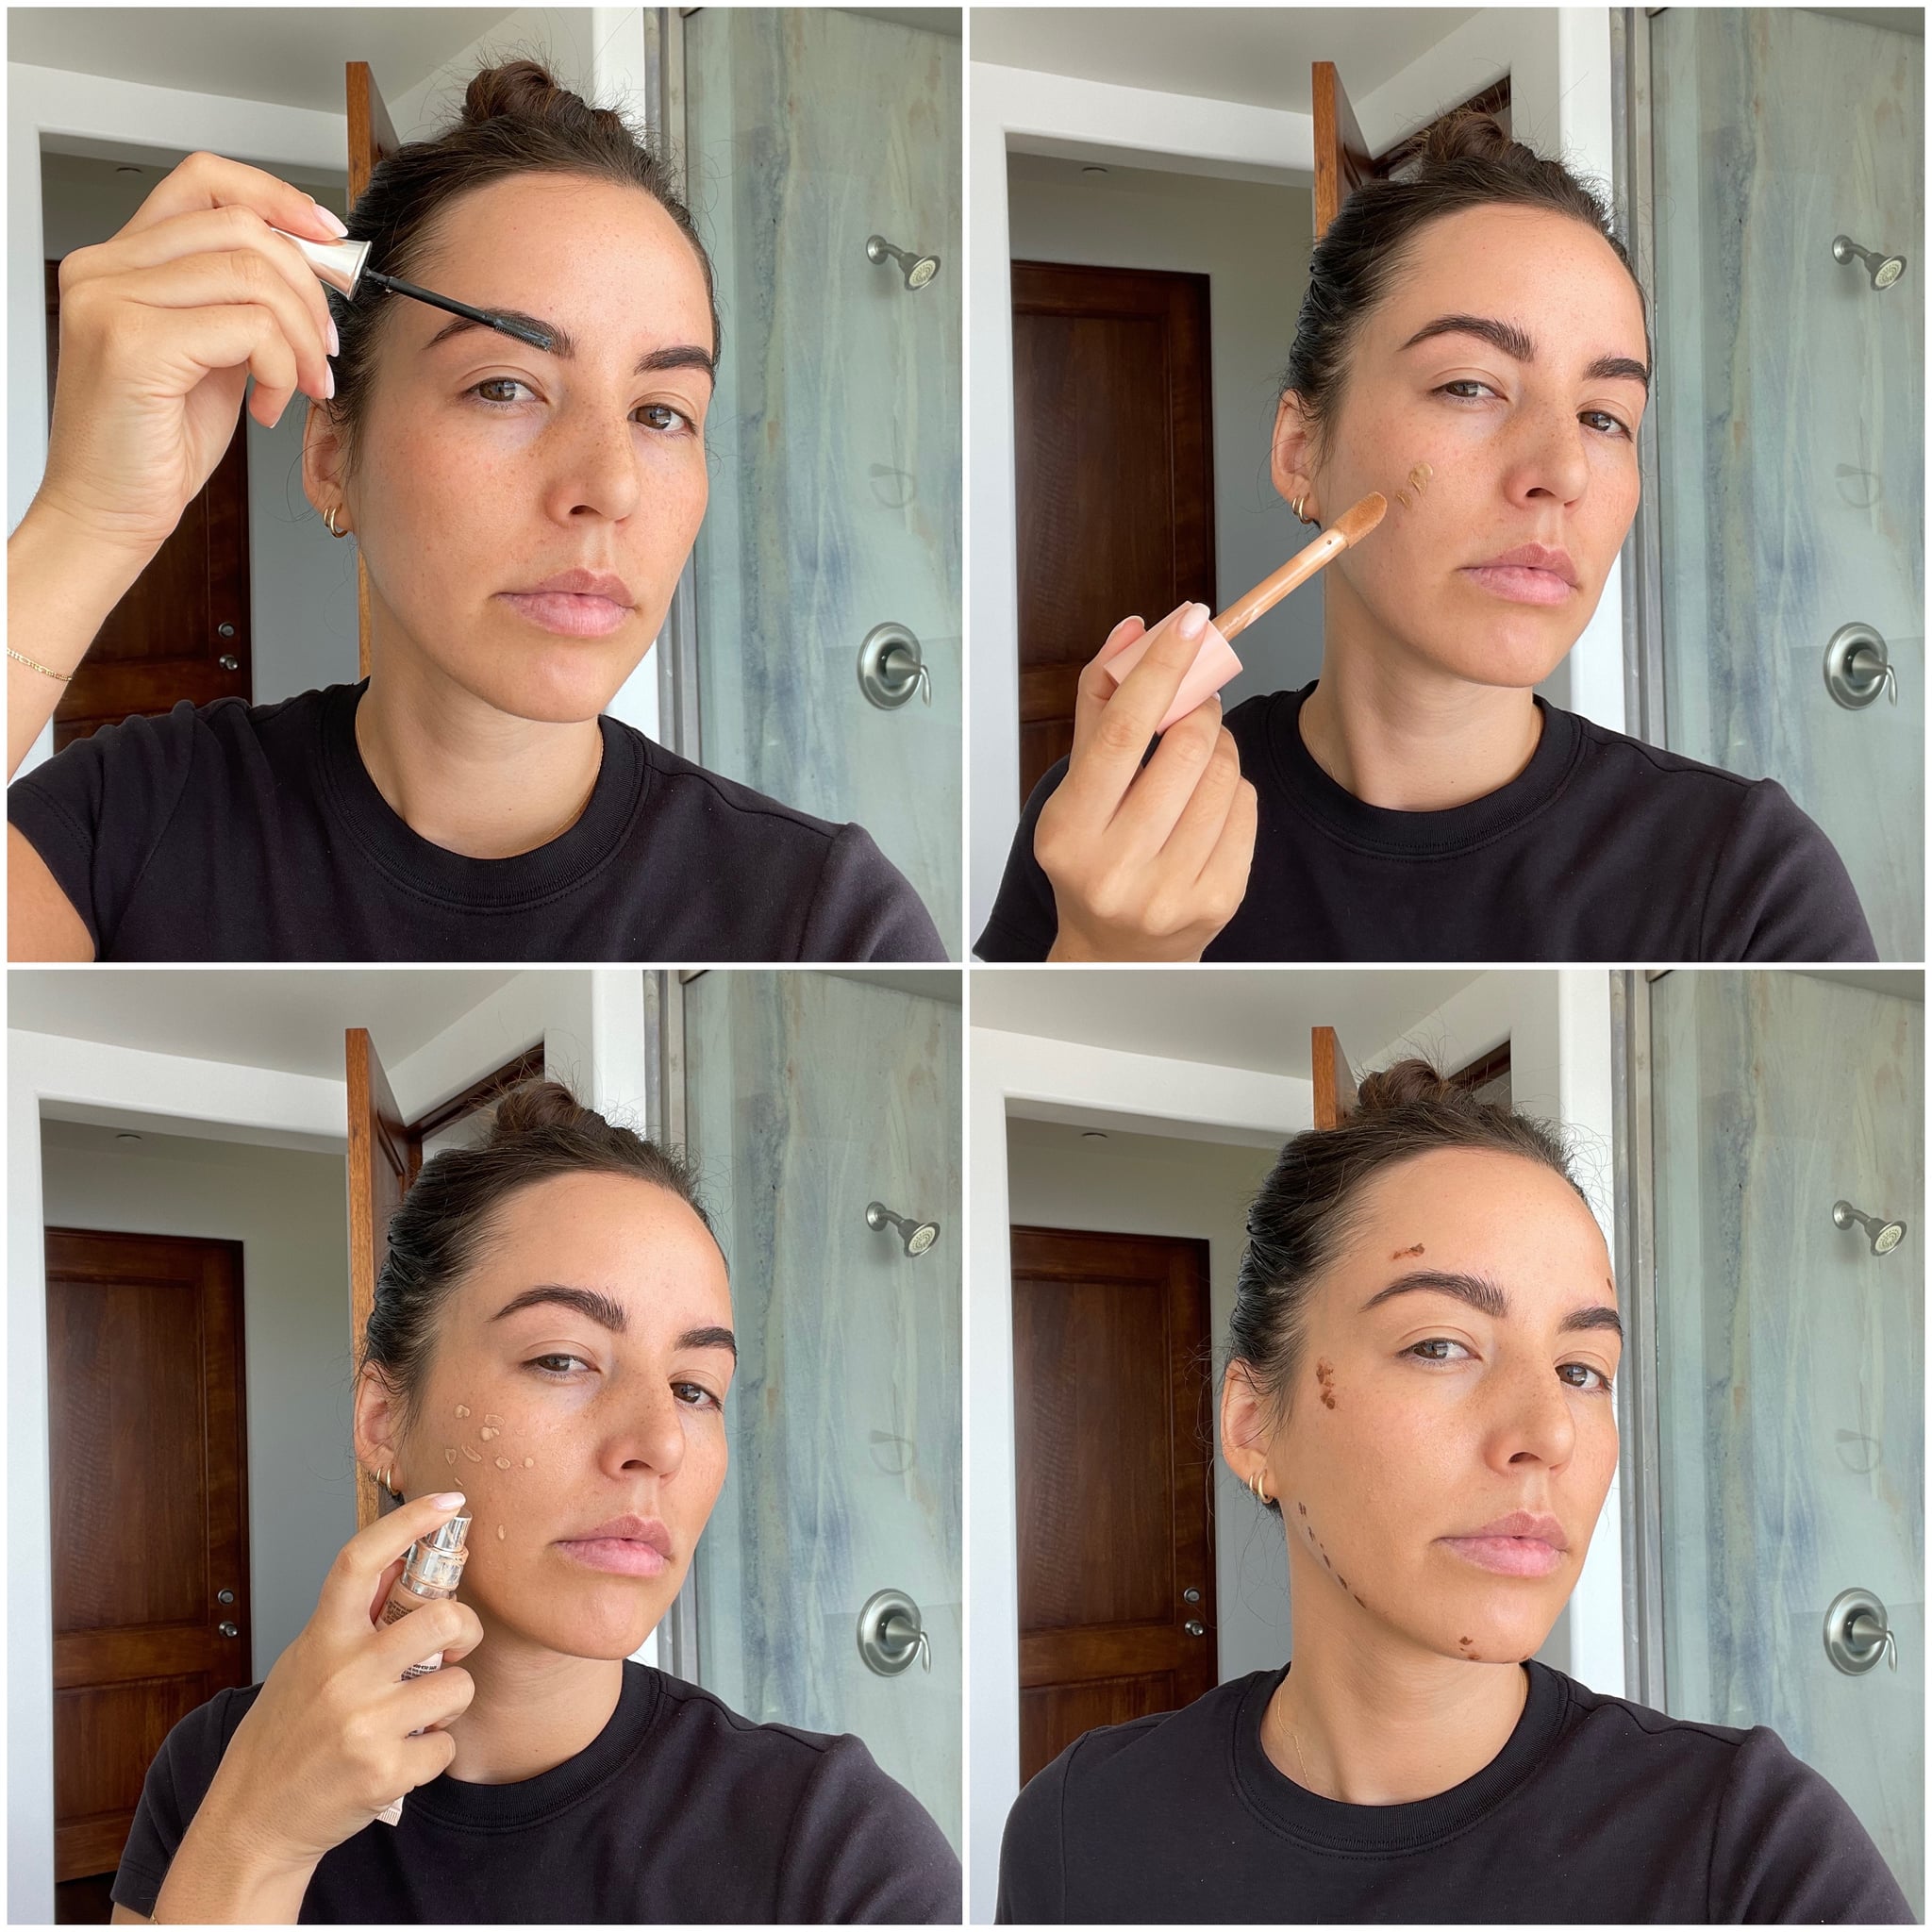
Step One: Groom Your Eyebrows
To start, I brushed up my eyebrows using an eyebrow gel to give them a full, lifted look. Any eyebrow gel is fine, as long is it has a strong hold that will keep the hairs in place. In Barratt’s video, she dragged the ends upward and out and kept the hairs square in the front sections, so I tried to copy her look exactly.
Step Two: Apply a Hydrating Primer
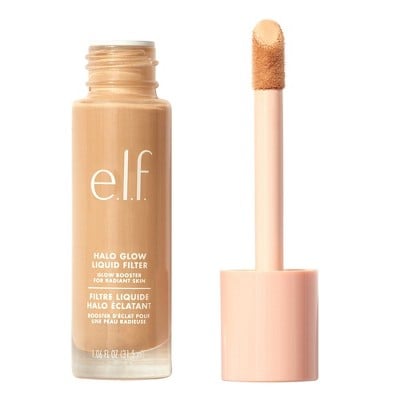
I’m not a huge fan of primers, but the next step Barratt takes is to use a hydrating primer. I opted to use the E.l.f. Cosmetics Halo Glow ($14) because it gives me a glowing base without the stickiness I often get from using primers.
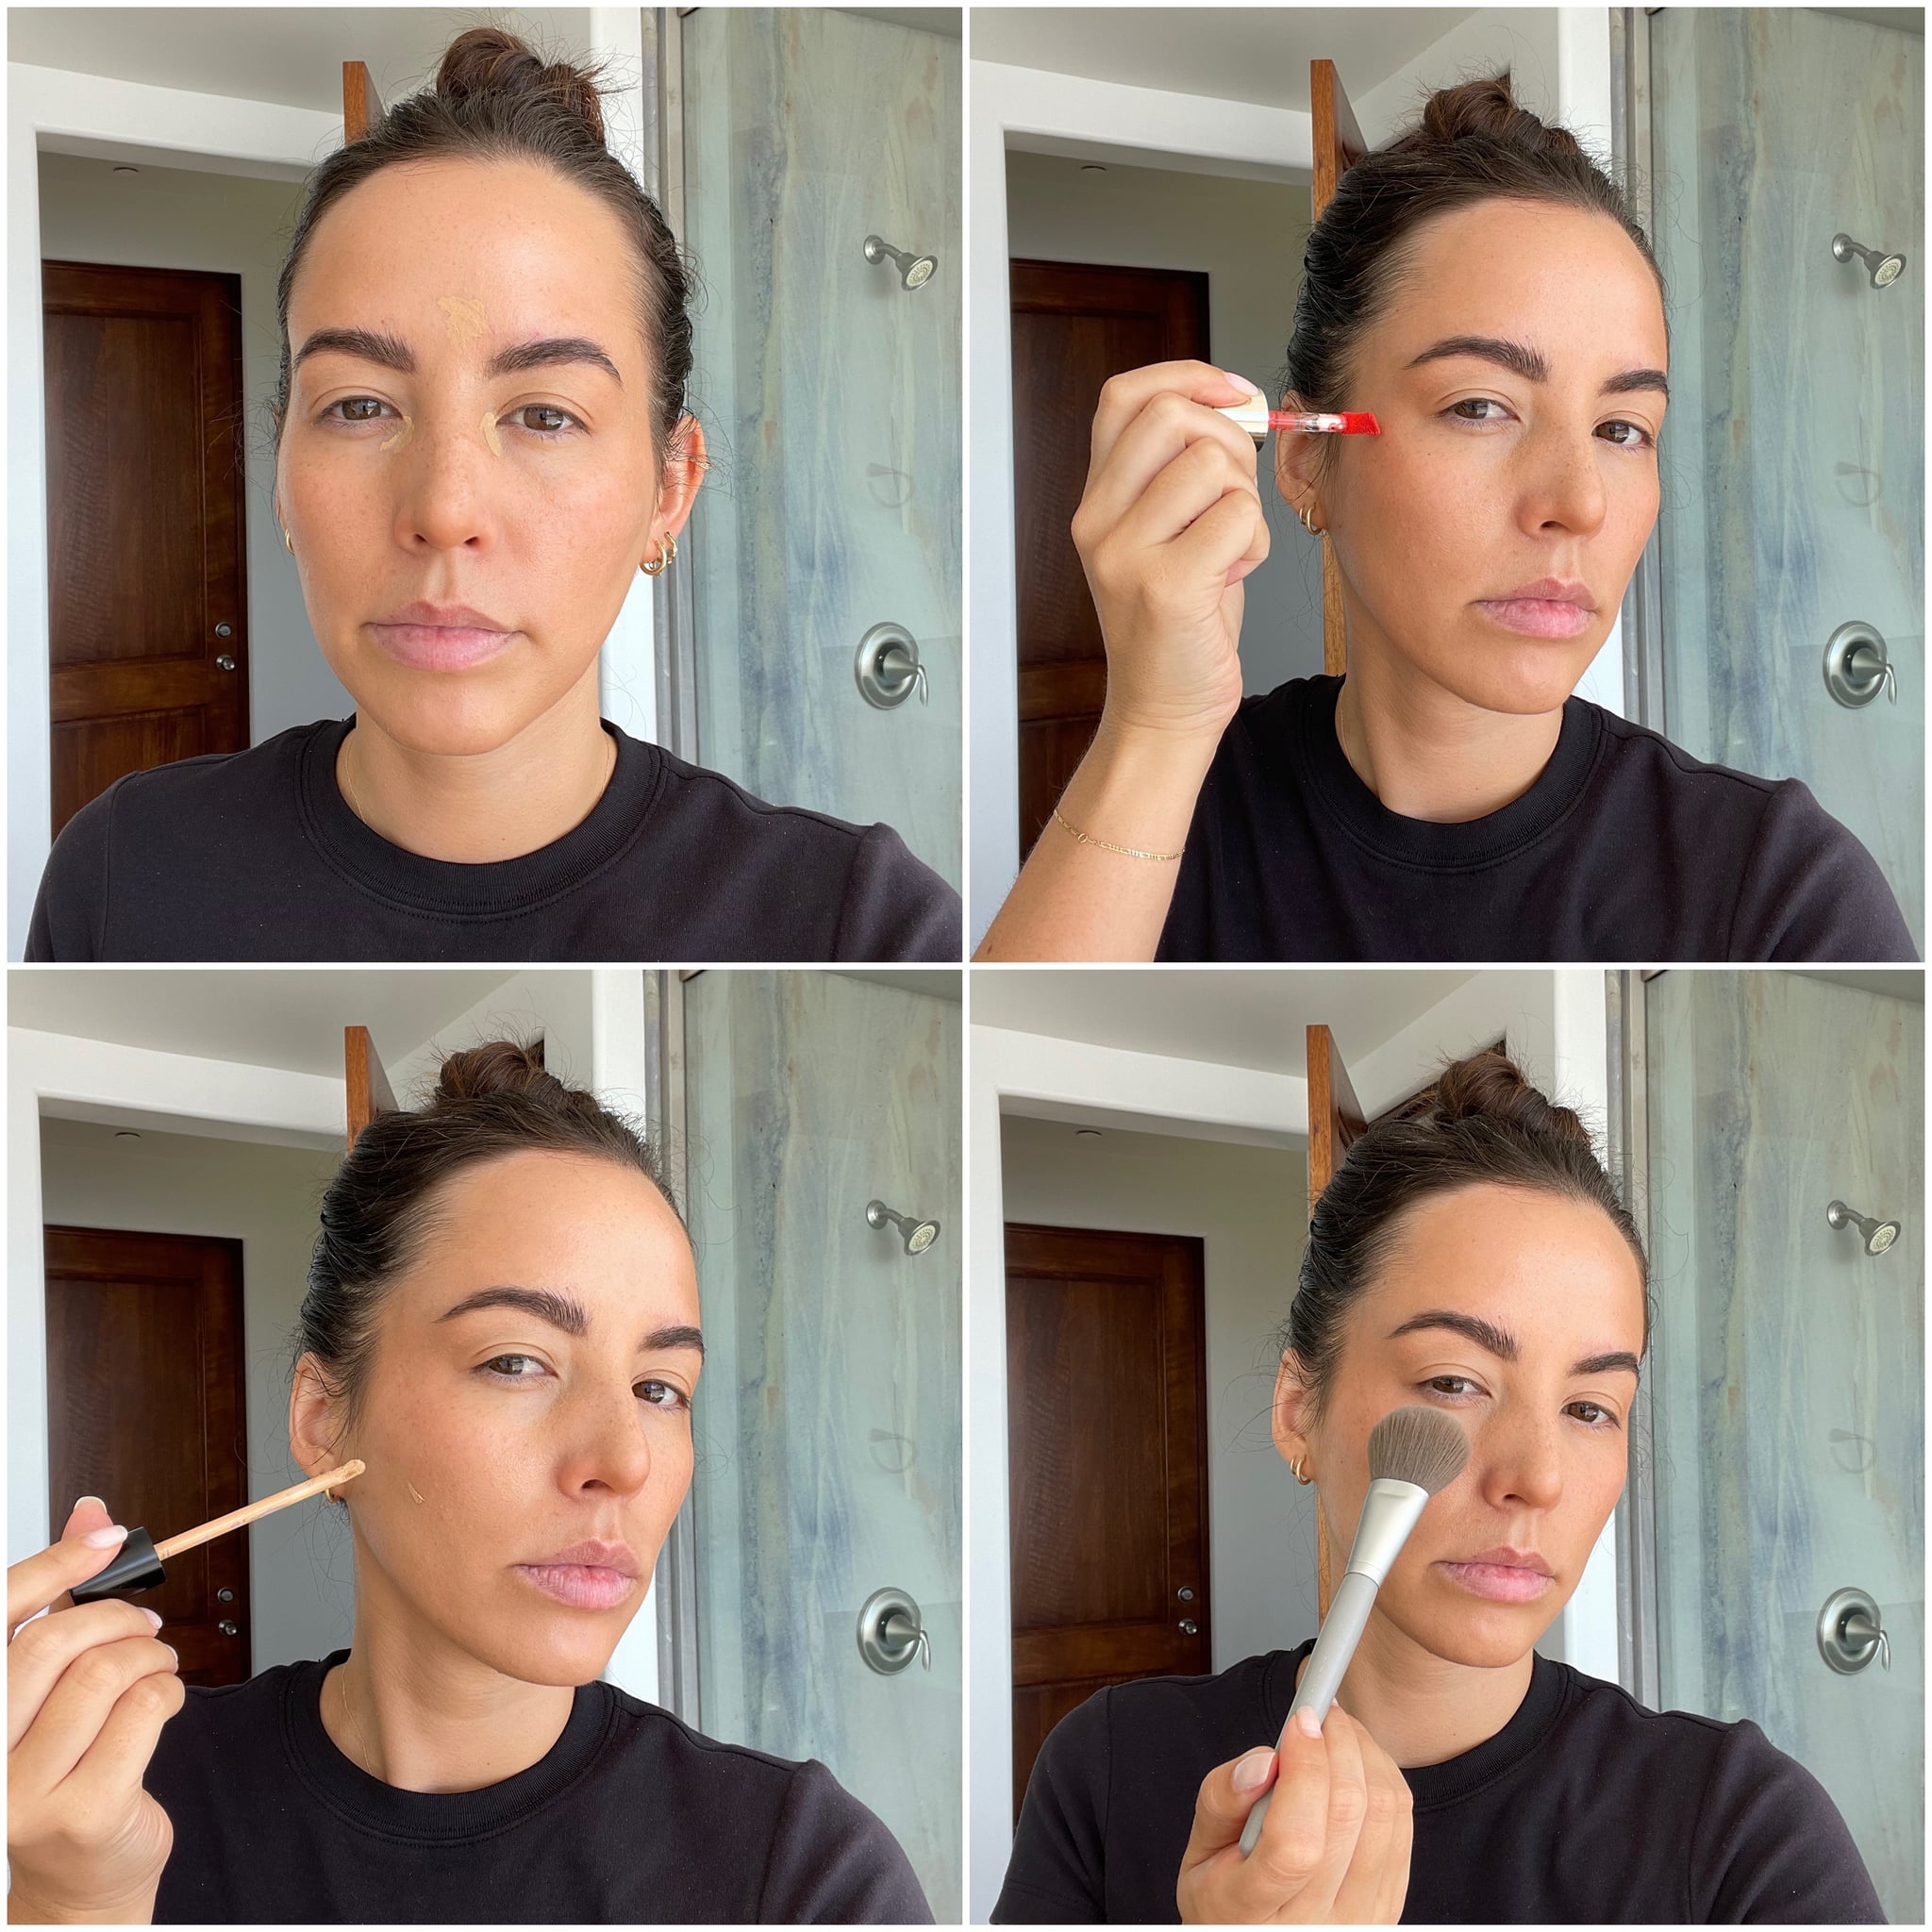
Step Three: Apply a Foundation and Define the Eyebrows With Concealer
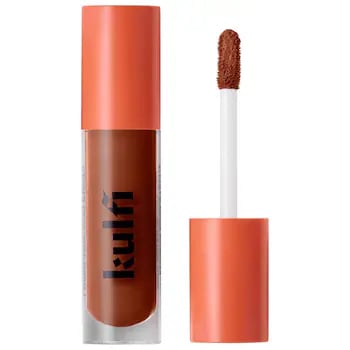
Next, I applied my foundation by using a small amount of product to cover my face as I normally would. For concealer, I dabbed a tiny bit under my eyes. I also added the Kulfi Main Match Concealer ($26) underneath my brows to help carve them out and give them a bold shape. In Barratt’s video, she mentions that carving out her eyebrows helps them look as symmetrical as possible, which is important since the passport photo will be taken head on.
Step Four: Apply “Over the Top” Contour
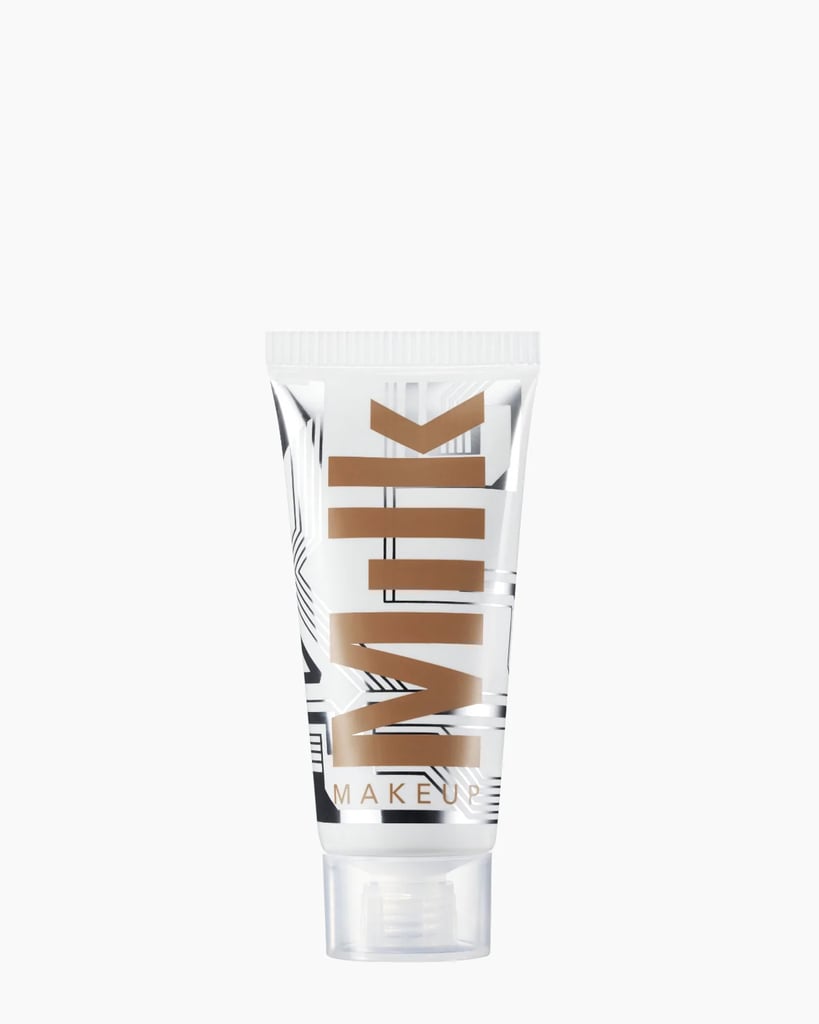
Barratt said in her video that she used “OTT” (over the top) contour for this look, so I contoured the same areas of my face as she did: above my temples, the high points of my cheeks, my nose, my chin, and my jaw-line. At one point in her video, Barratt sucked in her cheeks and drew along the line by her cheeks with contour, so I did that as well. I opted to use the Milk Makeup Bionic Liquid Bronzer ($30), and I finished everything off by adding a small amount of contour to the corner of each eyelid.
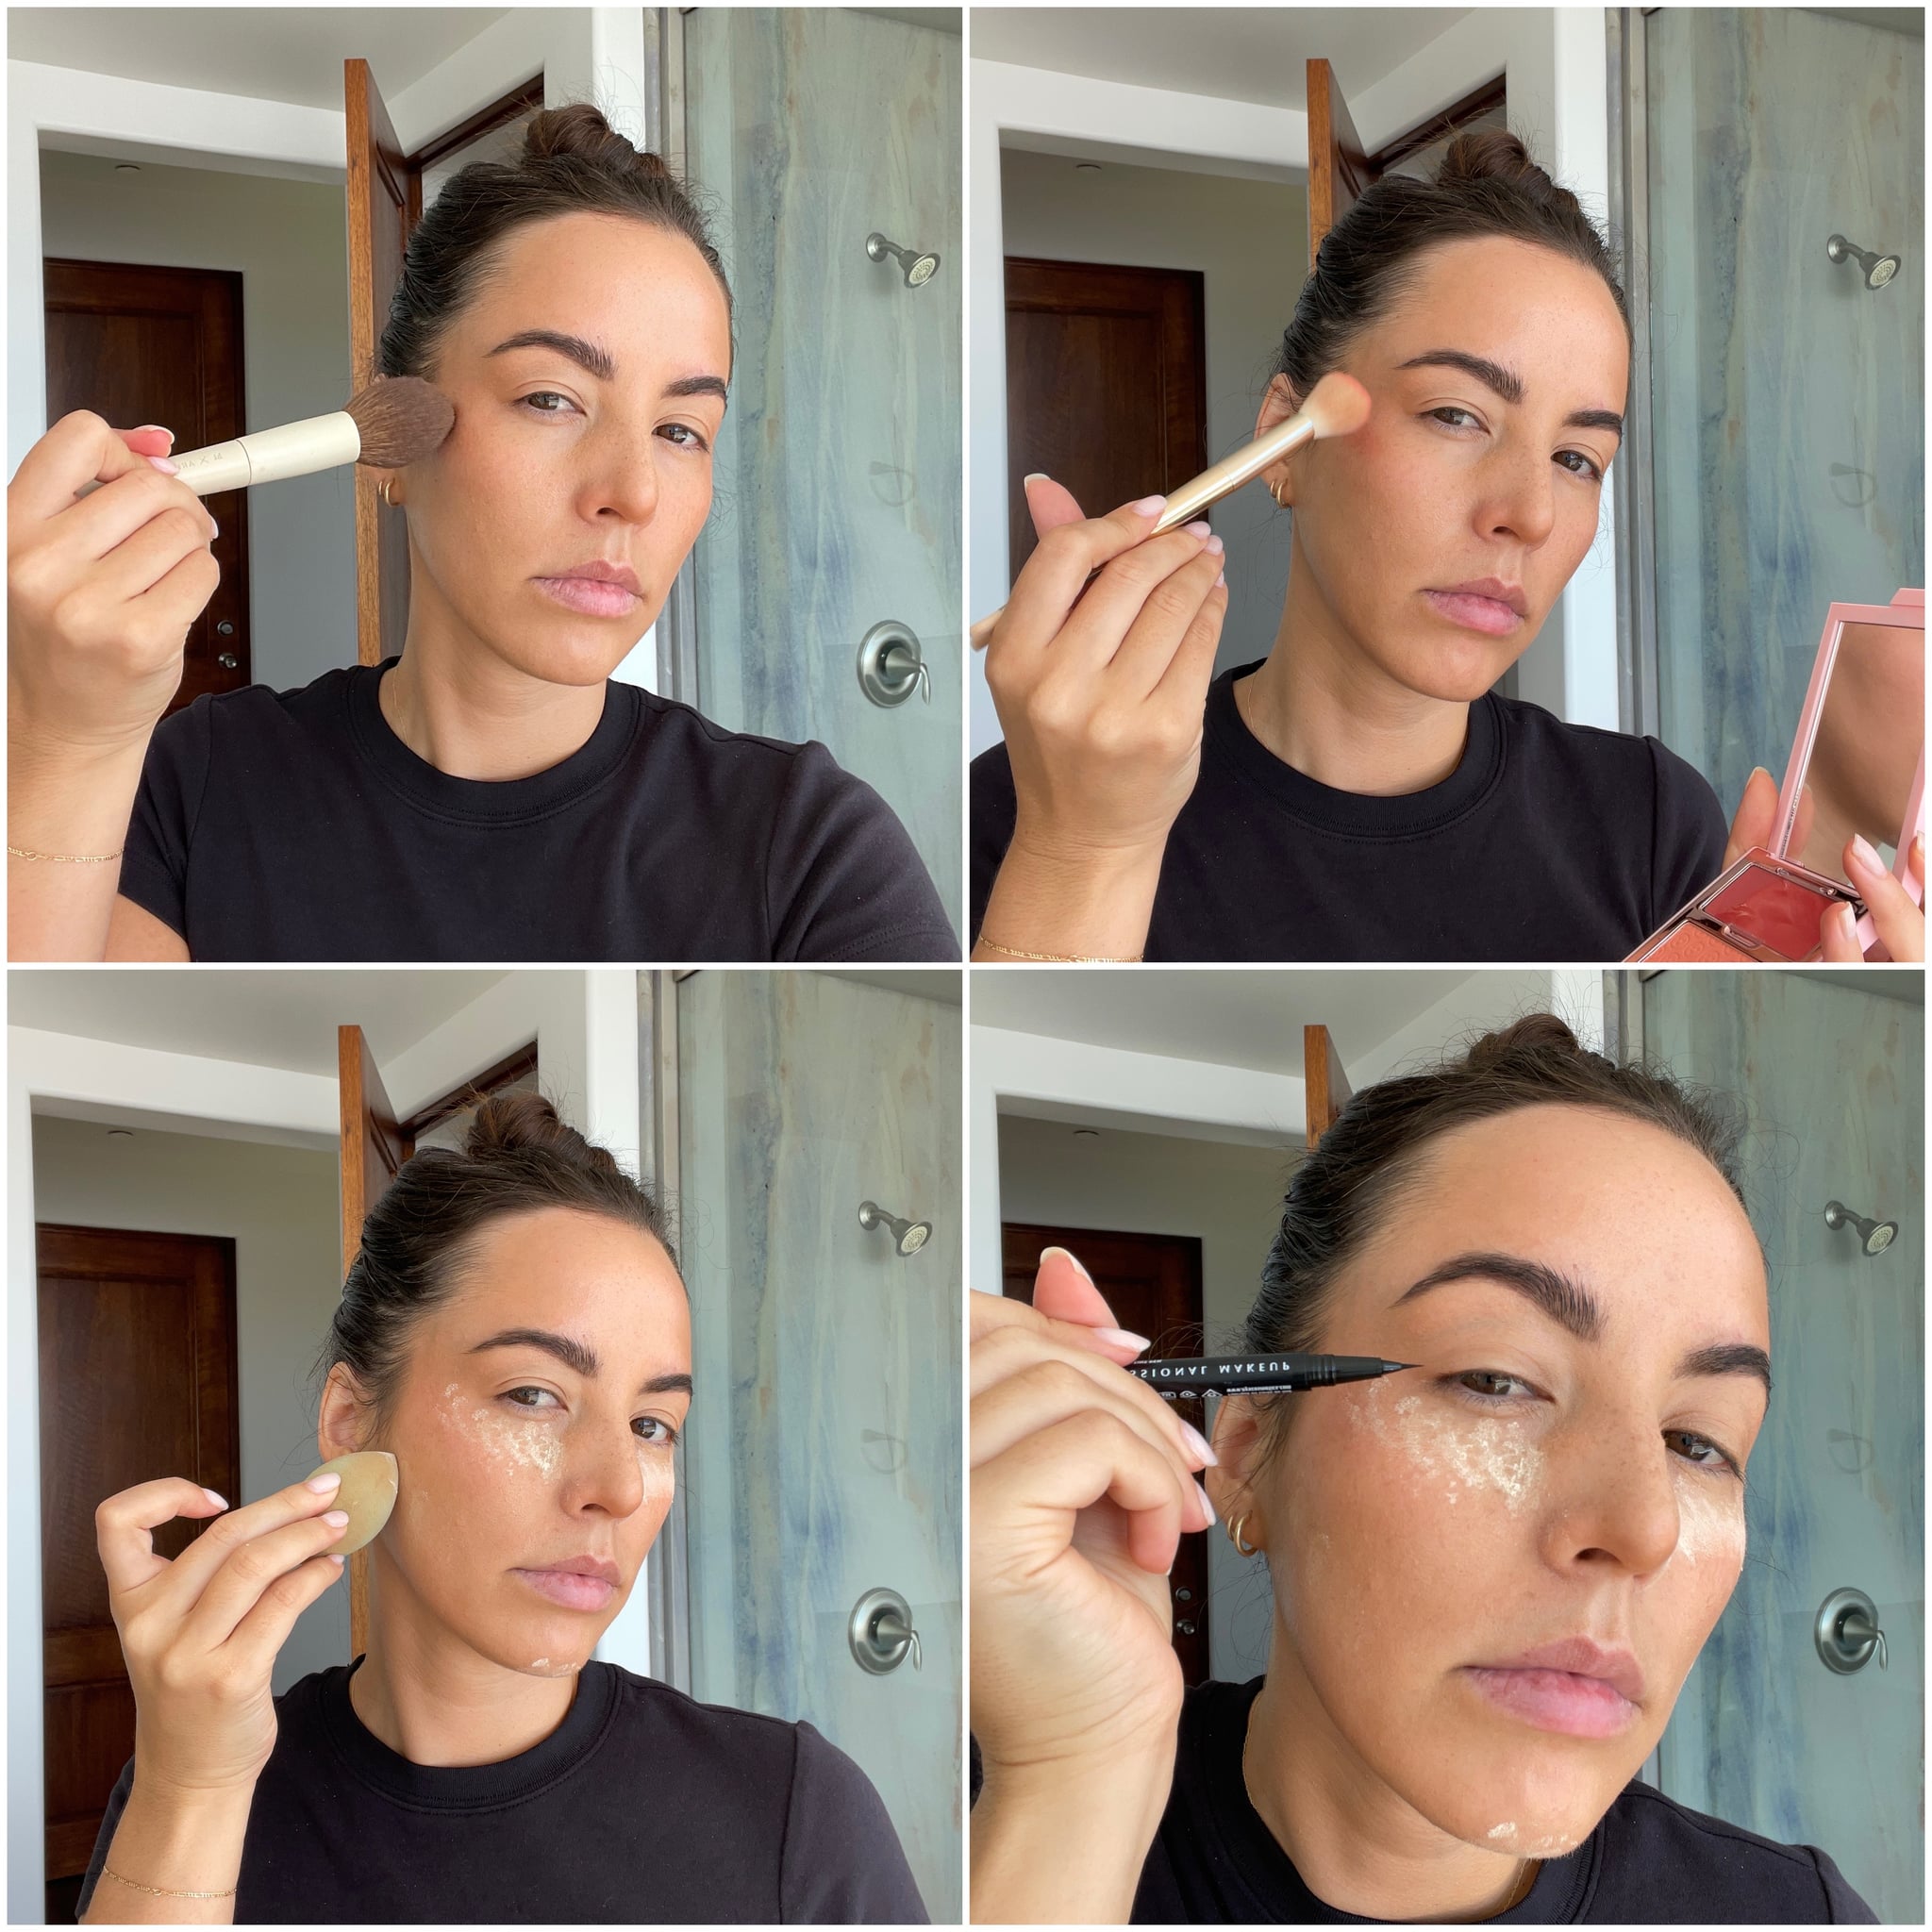
Step Five: Add a Little More Concealer
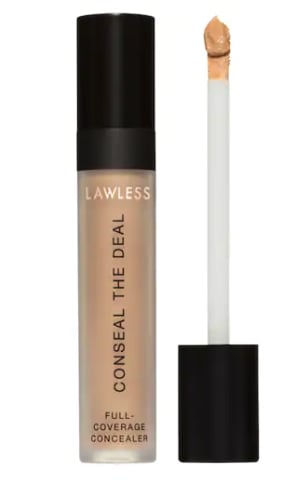
Barratt added a tiny bit more concealer in between her eyebrows and the corners of her eyes, but this time she opted for a lighter concealer that looked three shades lighter than her skin tone. I don’t own a concealer that light, but I opted to use the Lawless Conseal the Deal Concealer ($26), which was a tiny bit lighter than the other concealer I used.
Step Six: Tap on Your Blush
Following the steps in Barratt’s video, I took a tiny amount of liquid blush and applied three dots to the high points of each cheekbone, then blended out the color using a blush brush.
Step Seven: Snatch the Face With Concealer
Although Barratt already applied concealer, after adding blush she added a bit more underneath the areas she contoured on both cheeks. I did the same using the lighter of my two concealers.
Step Eight: Set With Powder
I then took the Laura Mercier Translucent Powder ($40) and lightly tapped it over my face to set everything in place.
Step Nine: Add Bronzer
Next, I added bronzer to all the areas I had previously contoured using my cream contour: my temples, cheeks, nose, chin, and jaw.
Step 10: Powder on More Blush
Although I already applied a small amount of liquid blush, at this point Barratt applied powder blush to the high points of her cheeks as well as her eyelids, so I followed suit.
Step 11: Bake
I then applied a heavier amount of translucent powder underneath my eyes, under my cheekbones, and around my nose using a beauty sponge. I let the powder sit while I completed the final steps of the makeup tutorial.
Step 12: Draw On Your Winged Eyeliner
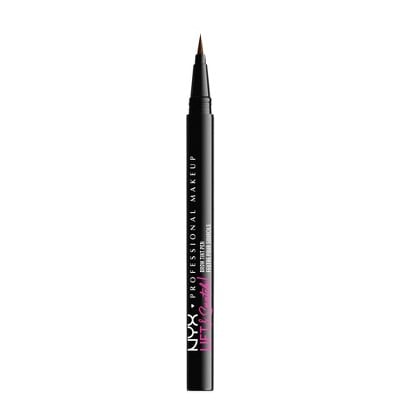
As I continued to let my powder “bake,” I got started on my eyes. Barratt drew on a tiny wing with a brown liquid liner at the corner of each eye, and she mentioned that it should be simple and look almost like an eyelash, but that the intention is to get a fox shape. To make it a bit more intense, she also lines the inner corner of her eye and brings it out a bit toward her nose. I have downturned eyes, and I’ve never really been able to get the hang of winged eyeliner, so I don’t even own a liquid eyeliner product. Instead, I used the NYX Lift N’ Snatch Brow Tint Pen ($12) in a brown color. Surprisingly enough for me, it turned out nicely.
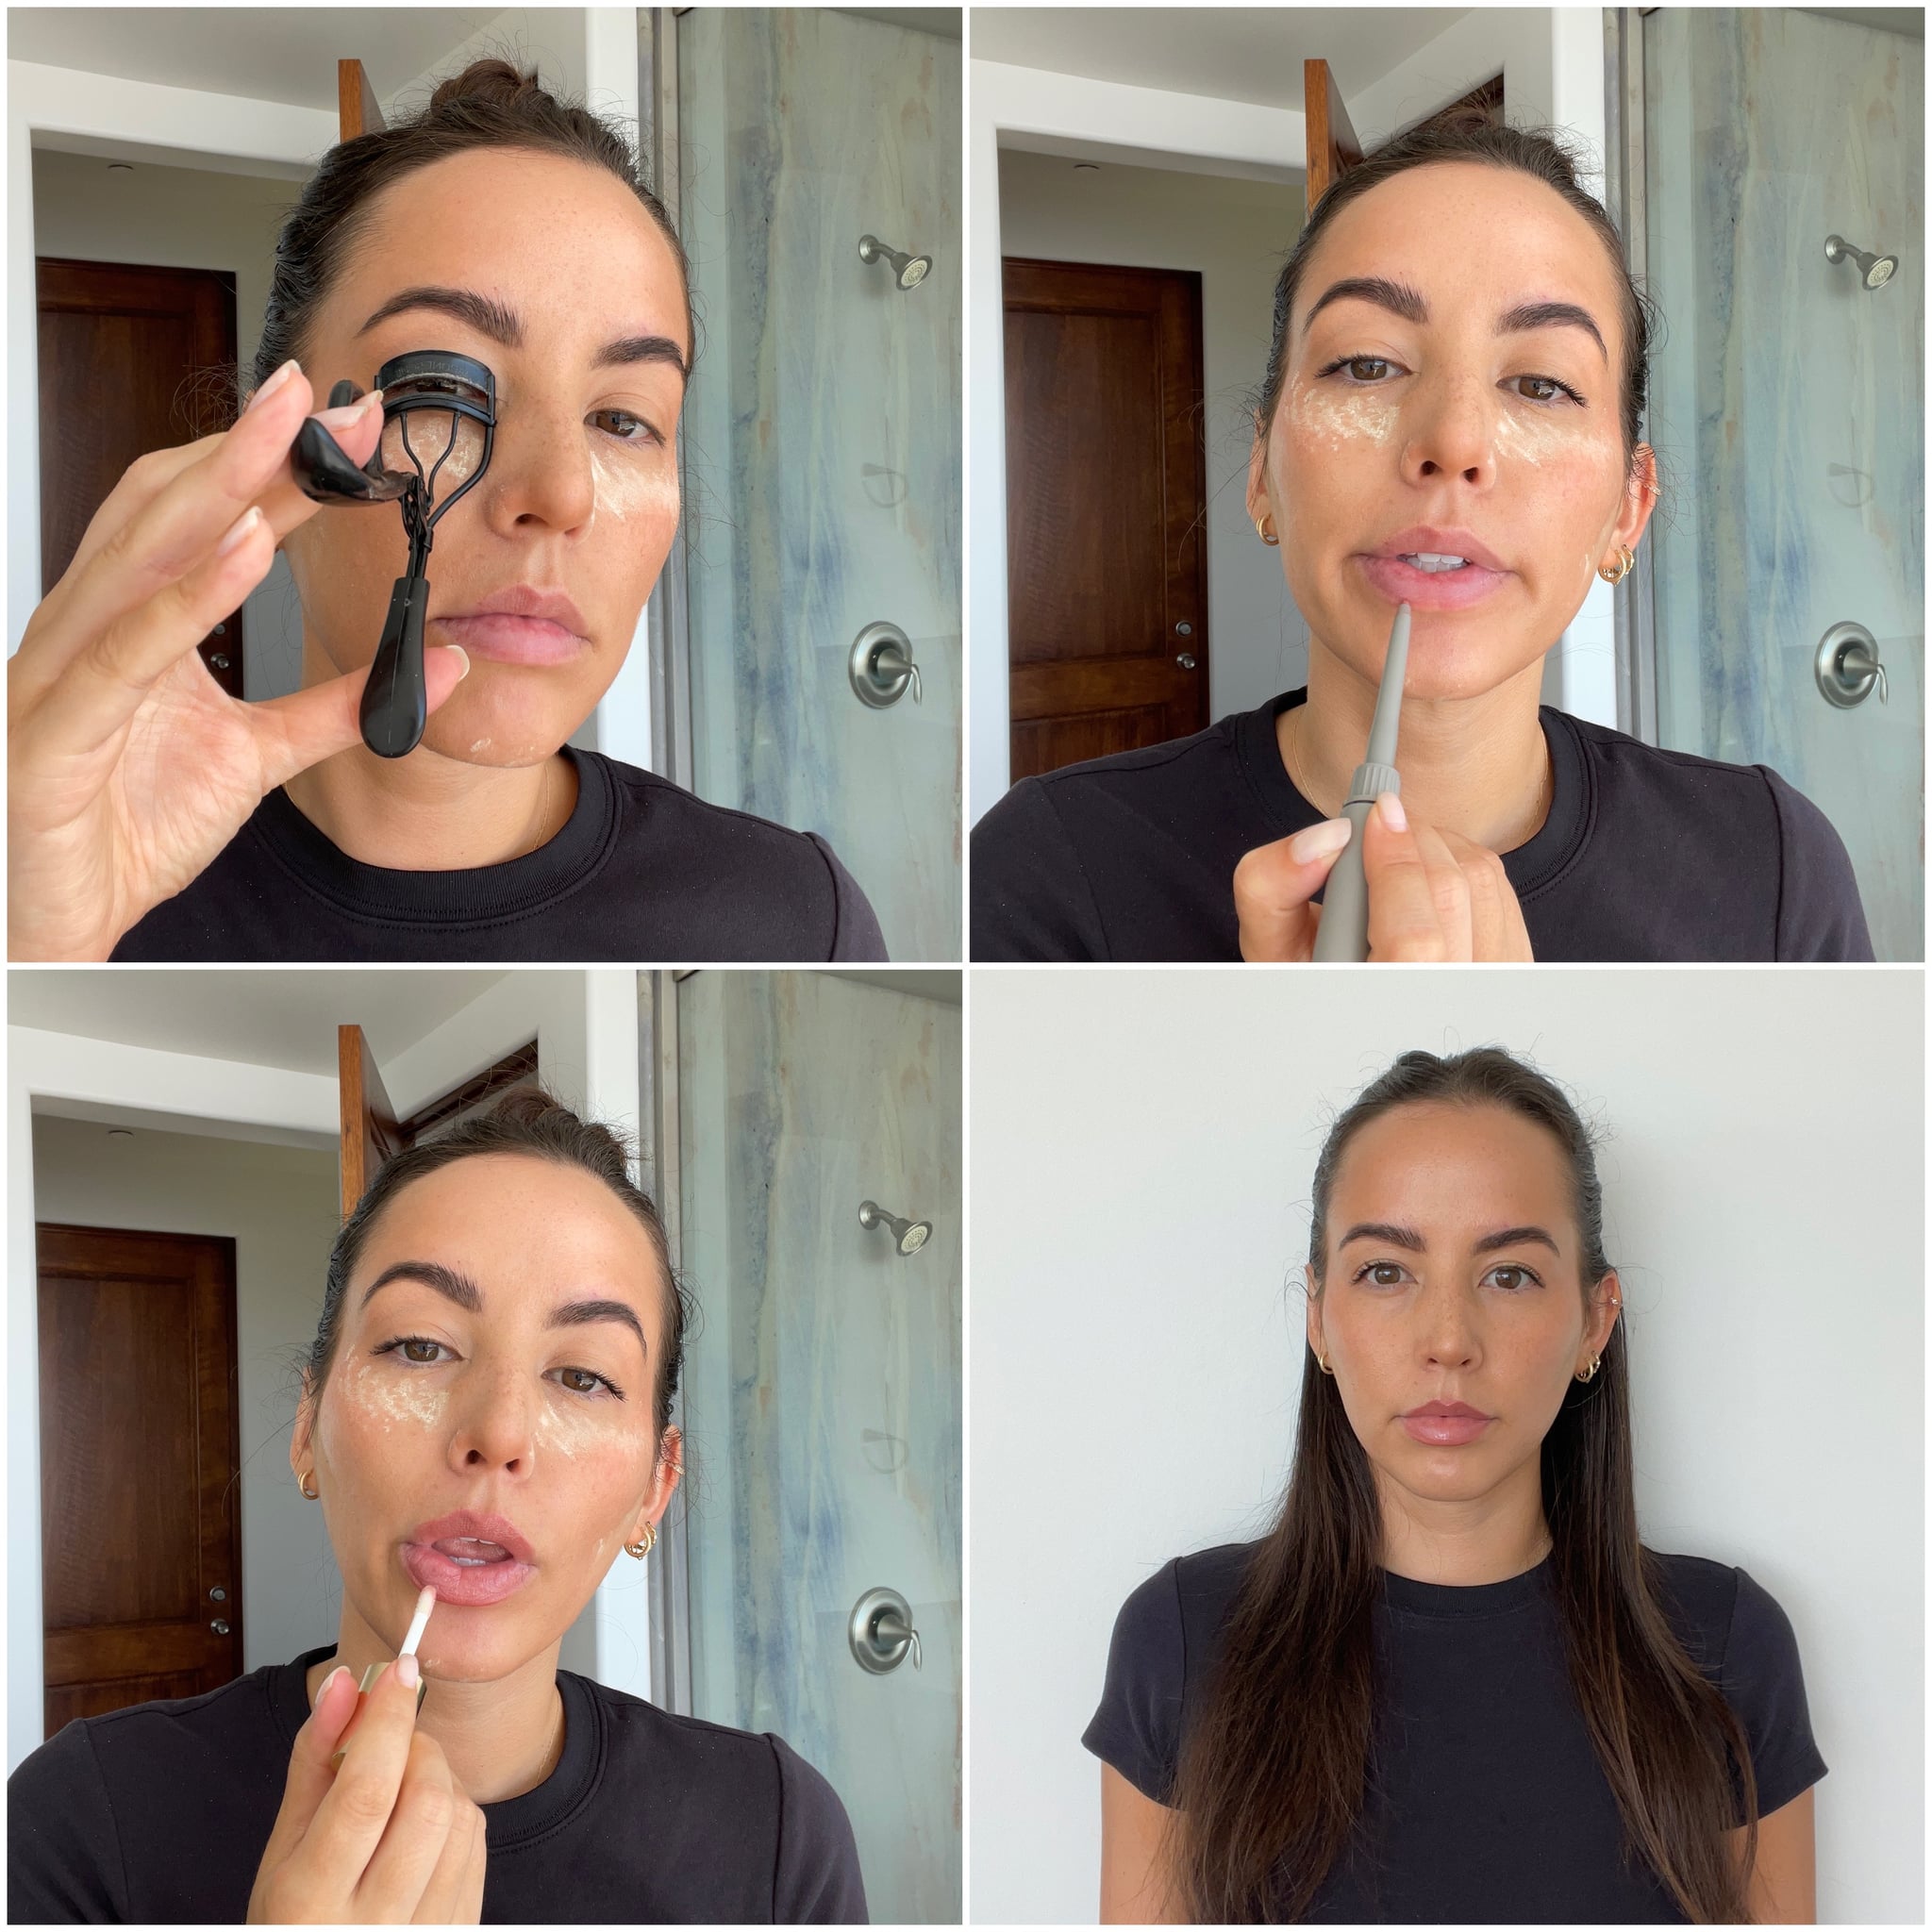
Step 13: Curl Eyelashes and Apply Mascara
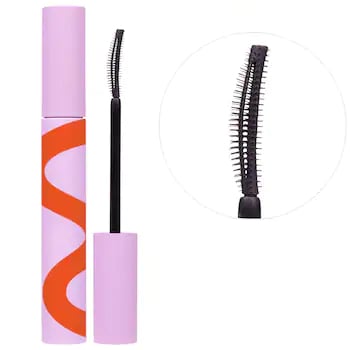
The last step of the eye makeup process was pretty straightforward. I used the eyelash curler I’ve had for roughly 10 years to curl my lashes, and I applied mascara using my current favorite, the Tower 28 MakeWaves Mascara ($20). Barratt kept the mascara focused on the outer corners of her eyes, and I did the same, which I found really elongated my eyes and is a trick I plan to keep using in the future.
Step 14: Fill in Eyebrows
This is the point in the tutorial when Barratt filled in her eyebrows using a pencil, but I actually did that step in the beginning (oops). I have super sparse brows, so I always opt to do them first whenever I do my makeup.
Step 15: Overline Lips and Add Gloss
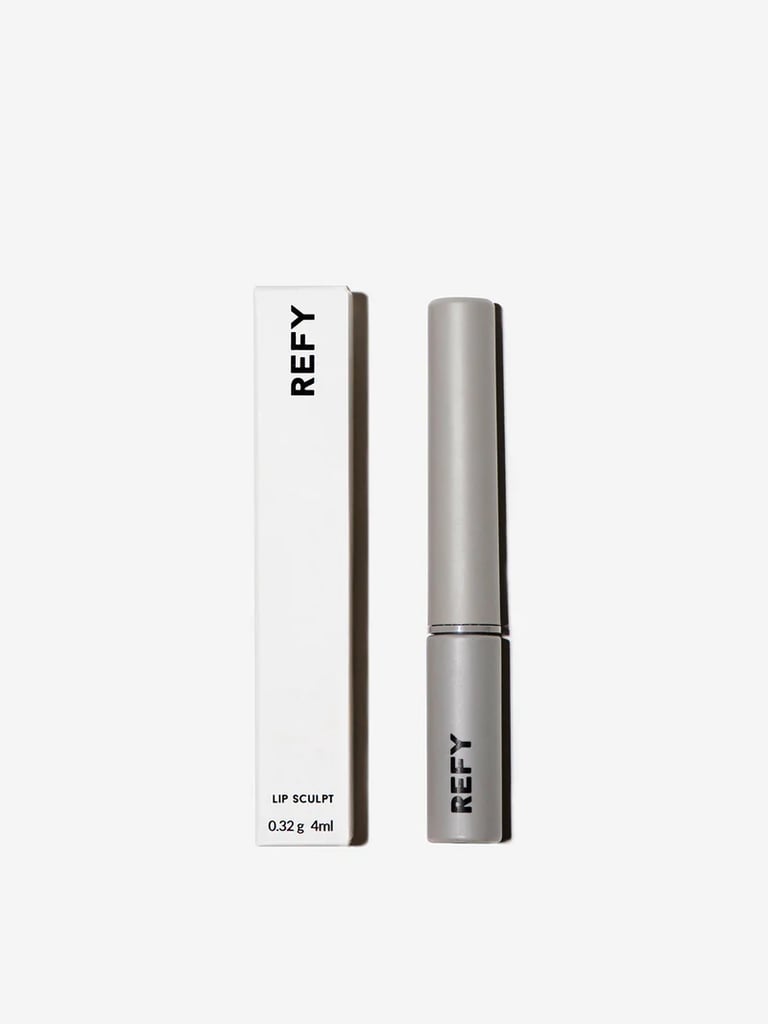
I already have pretty large lips, so I thought about skipping this step entirely, but I decided to go for it and I’m glad I did. I used the Refy Lip Sculpt ($26) to “majorly” overline my lips, and then I used the Merit Beauty Shade Slick ($24) to give them high gloss and shine.
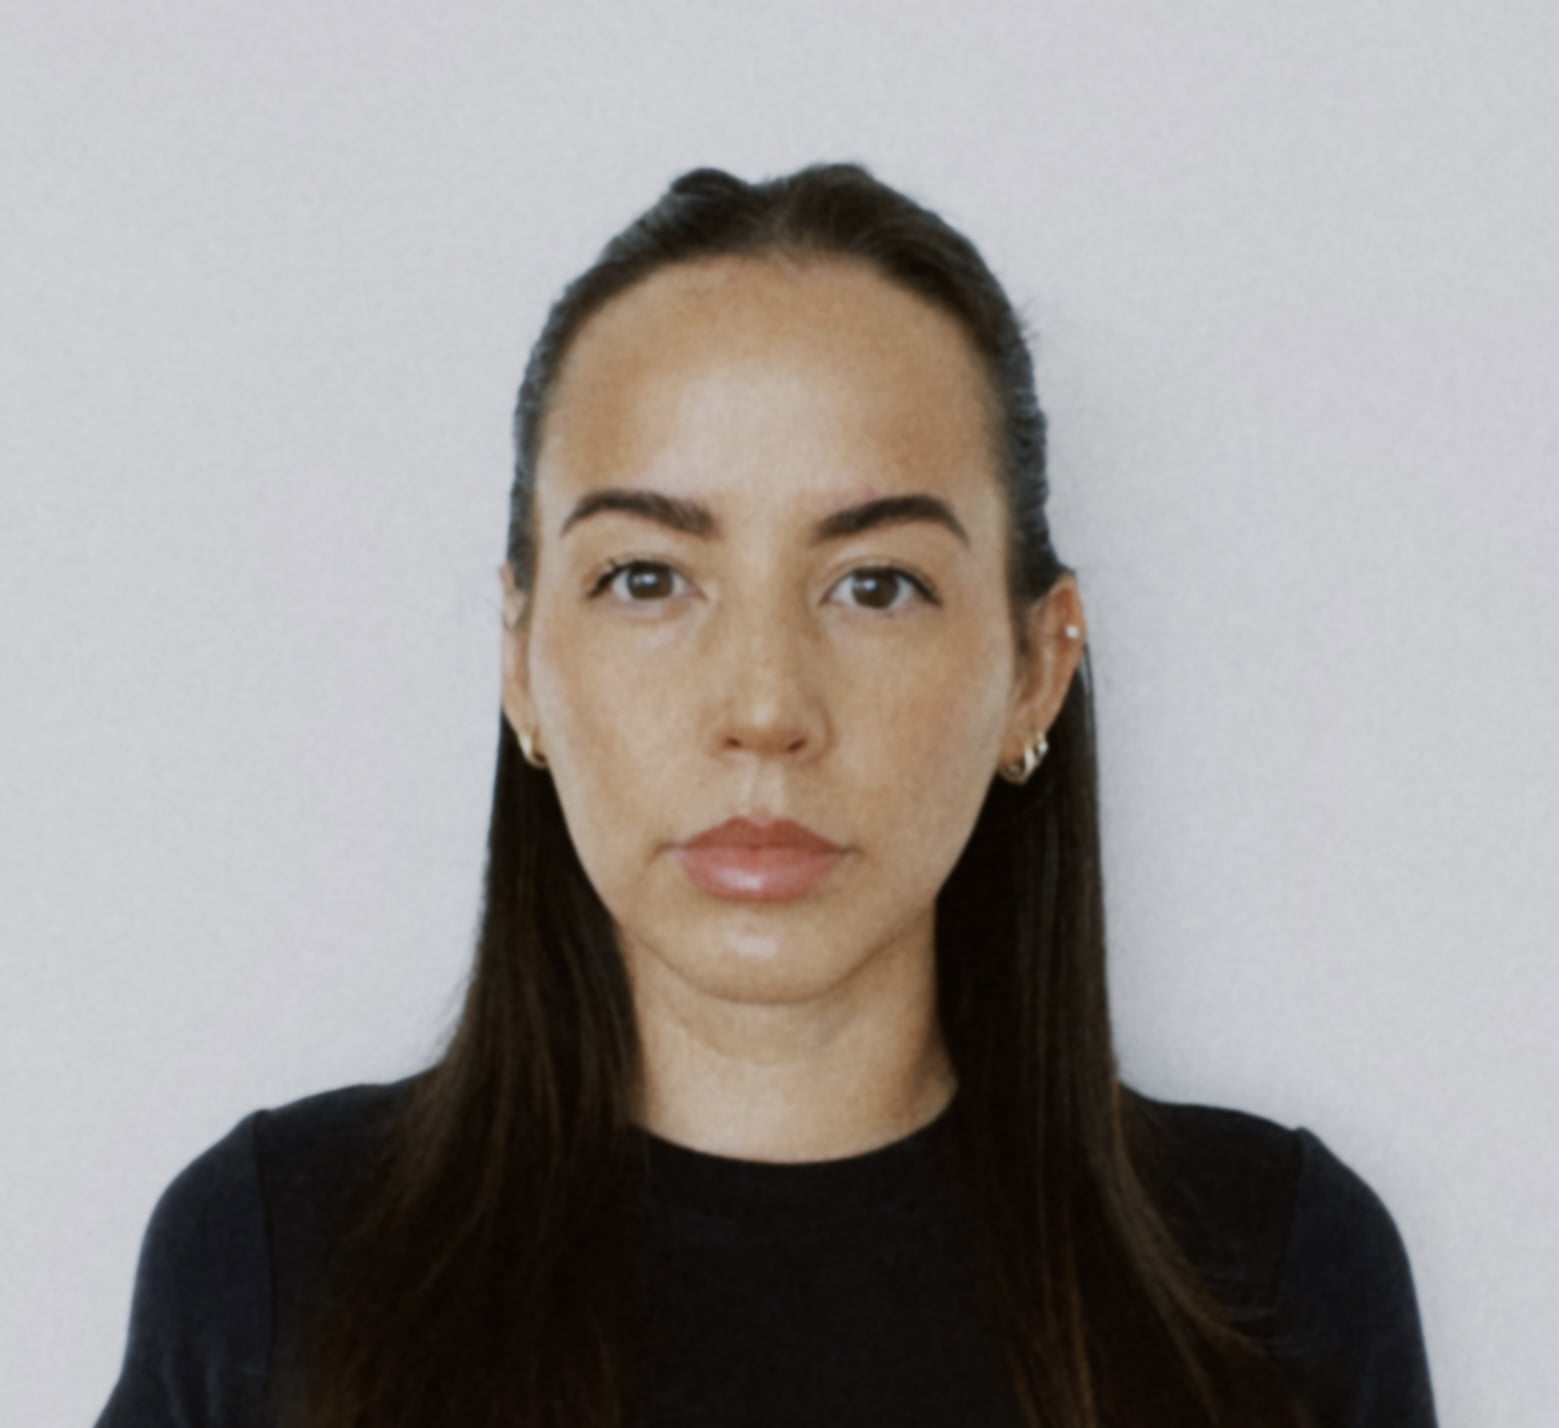
If you stuck it out through the entire tutorial, I commend you. Even I had my doubts about halfway through, but let me just say: the results were worth it. Although this process involved way more makeup than I ever wear regularly (or ever plan to wear again), it was actually perfect for my passport photo and turned out amazing. Although it might seem like a lot, if you’re looking for a perfect passport photo, this makeup tutorial is the way to get it done — my results prove it.
![]()

Source: Read Full Article