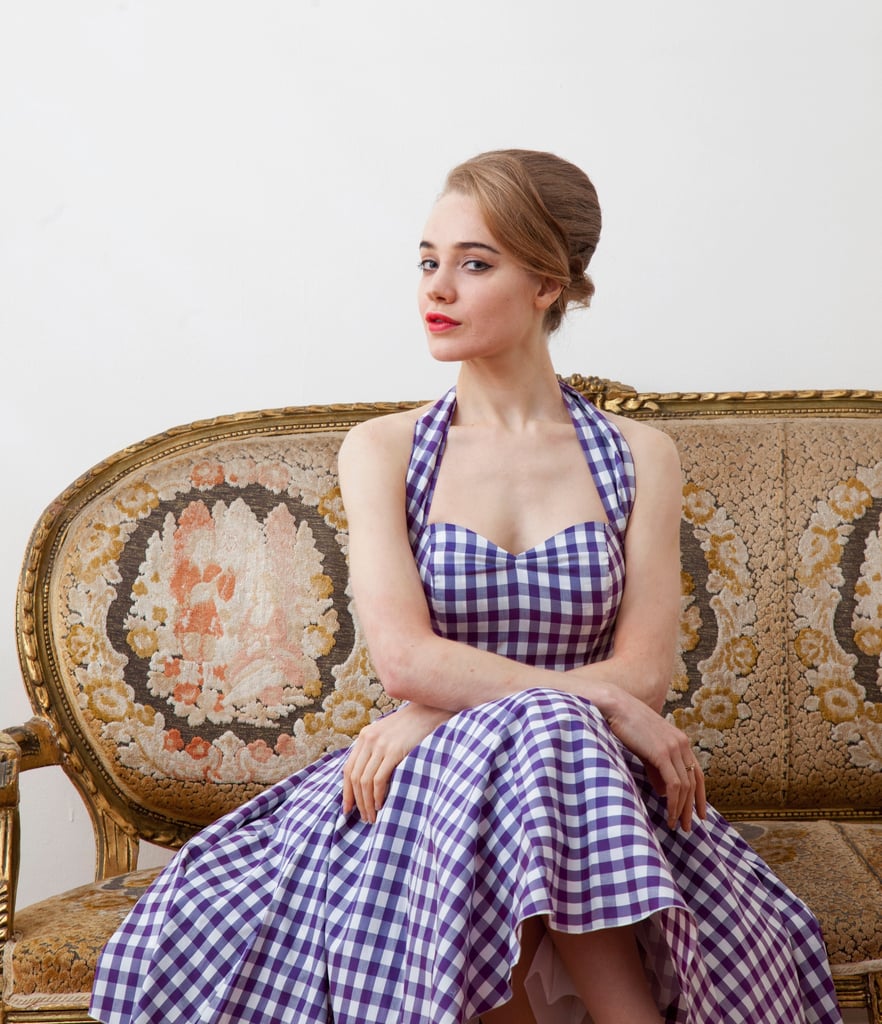
The Beehive: How to Make the ’60s Hairstyle Feel Modern
- The beehive hairstyle was popularized in the 1960s.
- The hairstyle has been modernized by celebrities like Adele and Beyonce.
- We spoke to a celebrity hairstylist about how to create the beehive look for yourself.
Sixties hairstyles are making a comeback in a big, bouffant-y way. The beehive is an iconic large-and-in-charge hairstyle that’s characterized by some serious height. “The style we commonly associate with Adele or Amy Winehouse with her half-up beehive was created in the ’60s by a stylist in Chicago named Margaret Vinci Heldt,” says Wendy Iles, celebrity hairdresser and founder of Iles Formula. “It’s always been the enigma of chic.”
Sure, it’s evolved since the ’60s, but the beehive hairstyle is still going strong. Traditionally, it looks like what it’s named for: a beehive. The hair takes on a conical shape at the crown; the retro version had a hefty height and was more heavily sprayed so strands would stay smoothed down.
Nowadays, things have loosened up. “Modernity to the style definitely comes from allowing an organic texture to live within the hair,” says Iles. She suggests nixing styling products that leave a plastic-y finish to avoid a look that’s stiff and outdated. And don’t overthink it — the look should be elegant yet effortless. “It can work equally well with an evening gown as it will with a pair of jeans,” says Iles.
Here, we break down what you need to create the beehive hairstyle for yourself, and inspiration photos to help you modernize the style.
Tools You’ll Need to Create the Beehive Style
- Bobby pins: Choose pins in shade that matches your haircolor, so they stay concealed.
- Finishing serum: If you want to blow-dry your hair for a smooth finish, a serum will keep it soft and frizz free.
- Tail comb: A beehive involves some teasing and a tail comb will help you pump up the volume with texture.
- A small brush: You’ll use the brush to smooth your upsweep.
- U-shaped pins: Have one large one and several small ones on hand.
How to Style a Beehive, Step By Step
Step one: prep your hair Of course the look works for anyone whether your have straight, wavy, or curly hair — just know that you do need some length. But hair with some texture might be easier to manipulate as the pins won’t slide out as quickly as they might on silky straight hair, explains Iles. If you’re going for a smoother take, apply your finishing serum to the bottom half of hair, avoiding the roots, before you blow dry since you don’t want them to be weighed down.
Step two: section the hair Create two sections, says Iles: The first should consist of the crown and the second the sides and the back. “Hold the second section in a low ponytail to keep it out of the way while you build volume in the first section,” she says.
Step three: create some body “Use a tail comb to back comb or tease the crown and front part so you have the required volume,” says Iles. Lift the section up and backcomb from the back, and once you have the desired amount of height, smooth over the surface with your small styling brush. Pin the shape into place just below the crown area.
Step four: pin the back into place Release the ponytail in the back and back comb the roots only, explains Iles. Then smooth everything over to the back left side. “Holding the hair firmly in place on the left side, anchor a straight line of bobby pins from the nape of the neck to the crown,” says Iles. Then take the hair from the left side and twist it around two fingers to make a roller shape and pin the roll into place with the bobby and U pins. “Begin pinning at the base and work upwards toward the crown. Once the last pin is in place, take a large U pin and tuck in loose ends at the top down into the roll.”
Best Modern Beehive Hairstyles
Source: Read Full Article
